The beginning of my epic on the digitization of the family archive:
click . Before picking up an ax and a hammer, I, of course, flipped through Google pages far and wide in search of more experienced comrades. And there were quite a few such comrades.
At first I tried to find a ready-made solution for sale. The first requests in the search engine give simple devices - screens for projection or box. It is supposed to project on a special “high-precision” screen and shoot with the camera:
The truth is it is a miracle of technology to 60 US dollars and more shipping. I don’t have to talk about quality here, in far 2002 I tried shooting a good VHS camera projecting onto the wall. Video of course on the result, I got but with enhanced effects of retro cinema. Twitching and blinking scratches and debris in the frame window.
There are more interesting devices, and only about 300 bucks, but with the delivery to our country of the problem, and the resolution is very modest:
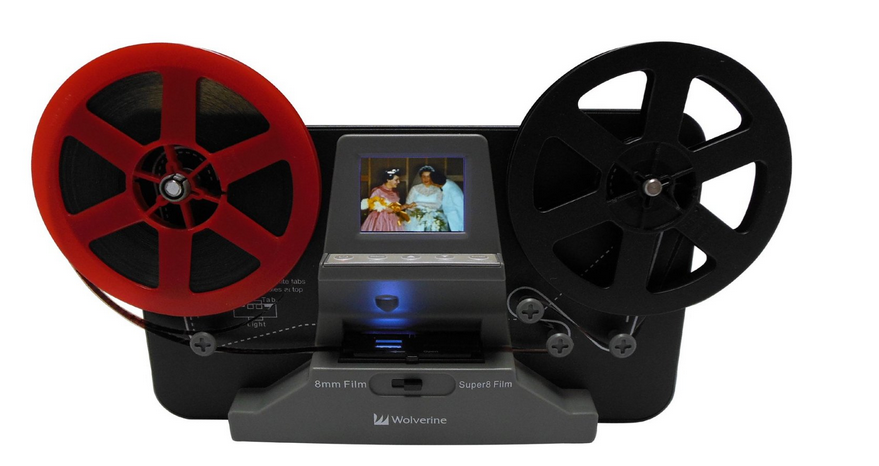
All that is better in quality, even strongly used and very outdated, starts from $ 1000, there are quite serious devices and designers for finishing:
TOBIN TRUE PROGRESSIVE SCAN HD TELECINE FOR SUPER-8 FILM (TVT-S8PHD Econ)
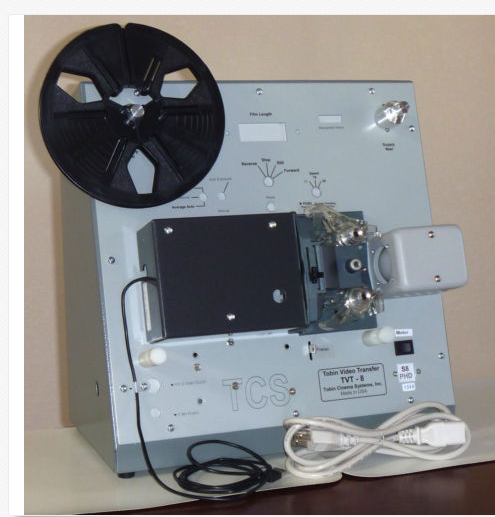
But again not in Russia and delivery to us is not offered. And the price is from 50,000 rubles for a base for beatings - only if you then try to make money on this device. Mere mortals, but rukadty guys most often go something like this:
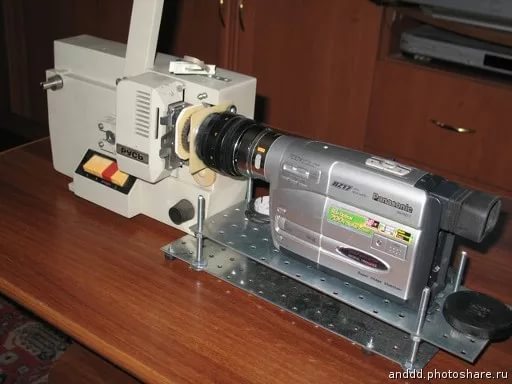
And here again we have all the problems of synchronization of the projector and camera, although sometimes the brains of the camera cope with this quite well and a good result is obtained. But the synchronization of the problems does not end there, and there are difficulties with positioning and lens selection and distortion, the quality of the camera itself and the output format.
The next stage in the evolution of the symbiosis of the projector and camera is frame-by-frame shooting. The camera is connected to the PC and synchronized shooting of the frame with the clamshell mechanism. There are a lot of options, from the banal - to attach a mouse to the projector so that the cam on the shaft presses the button, to devices with drives on a stepper motor and encoders with controllers.
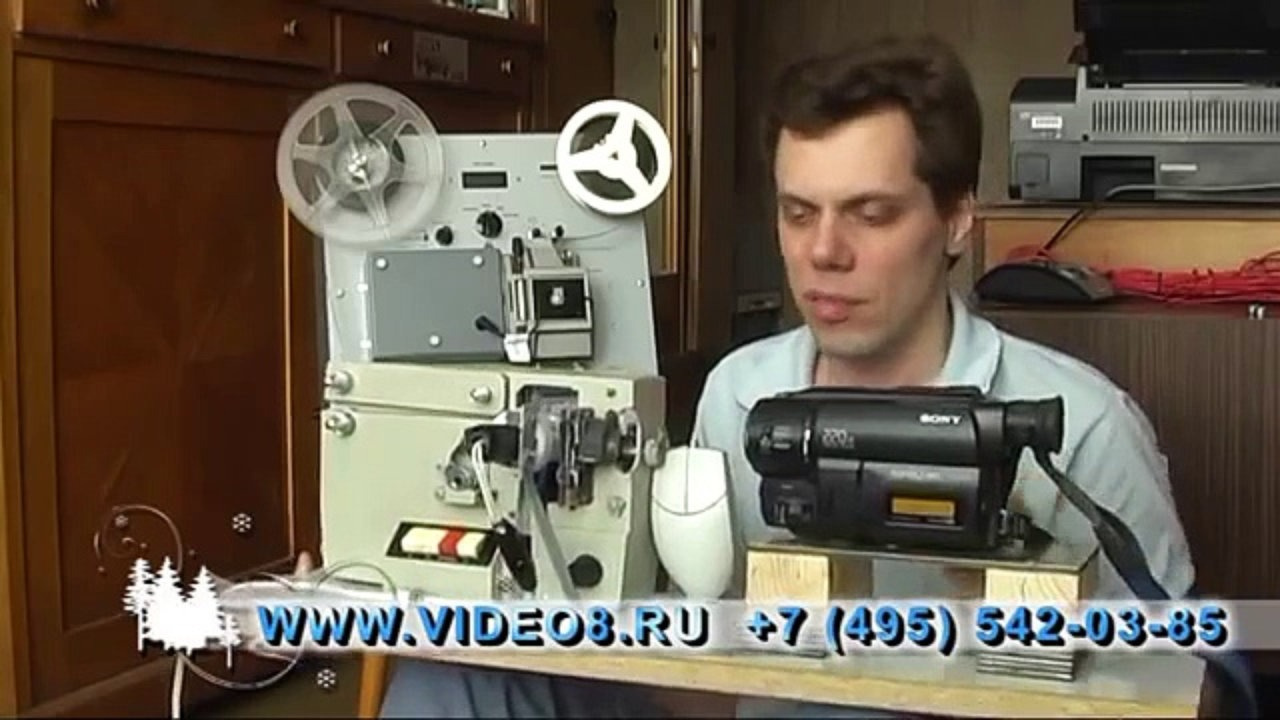
On the site from which the picture was taken a lot has been written about film scanning, and a friend in the photo still has a channel on YouTube, with stories about different devices. Increasingly, the domestic camera is being changed to a digital camera or USB camera.
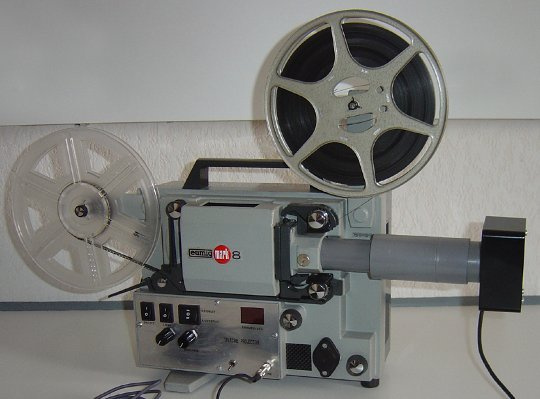
Very patient adapt flatbed scanners, scan the entire film on them, then cut separate frames in a graphic editor and turn them into video. But for such a feat, I am very lazy. Well, products made from scratch for film scanning are much less common.
Project "Kinograph":
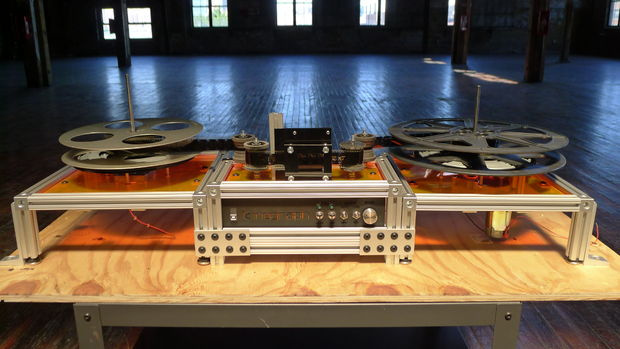
They even have a list of materials for assembly on the site with brief instructions. There are options with a scanner:
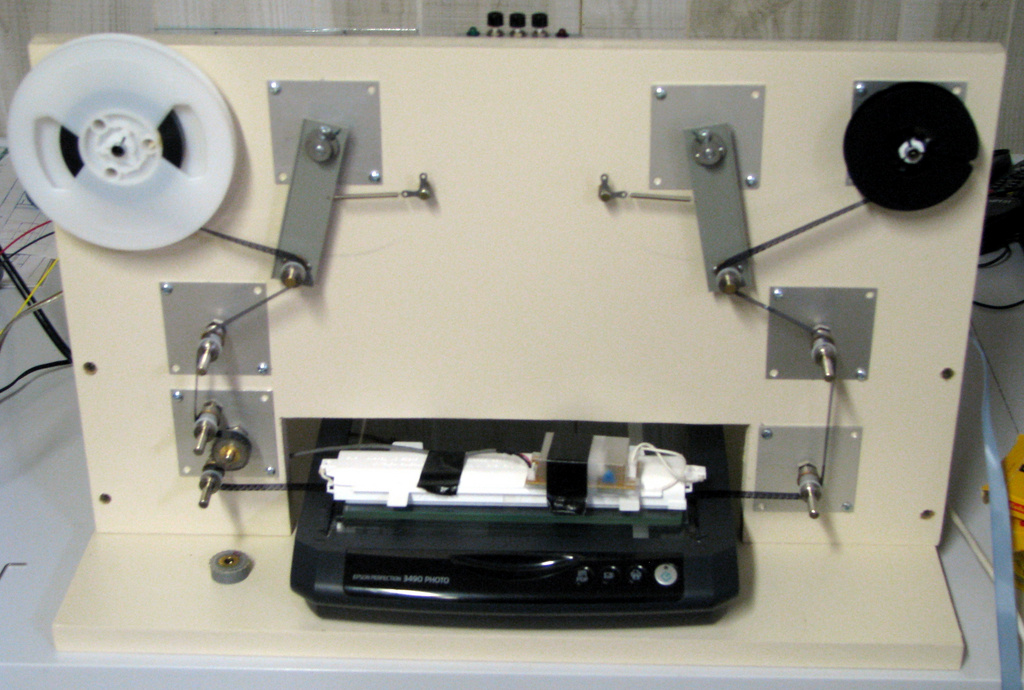
with a home video camera:
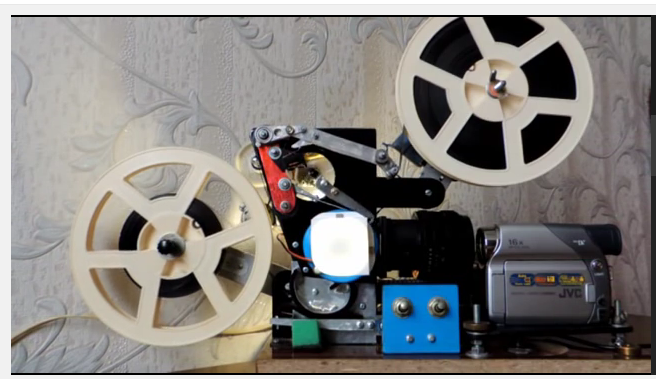
With camera:
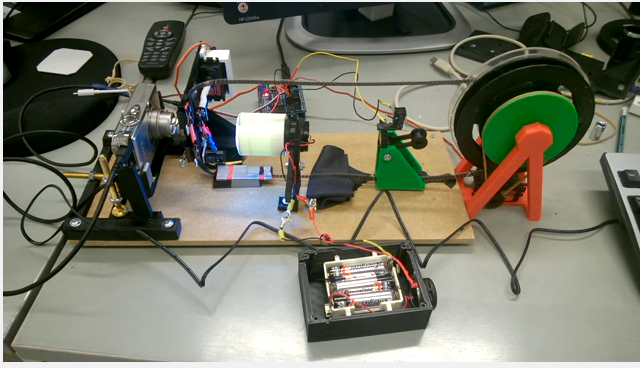
The options for implementation are infinite.
Long chose the option, and focused on these basic parameters:
1. Use a USB camera with a resolution of at least 1600 * 1200. Although opinions diverge, someone shouts that 640 * 480 for 8mm film is already unnecessary, but someone proves the value of a large resolution. But higher than 1600 * 1200 no one does or advise.
2. Record photos on a PC, followed by restoration and assembly in the video. If everything is simple with the assembly of photos in the video - a bunch of paid and free programs, then I haven’t figured out the restoration yet.
3. Kinematics do with rubber rollers pulling - as the film perforation in places is not very.
4. Frame positioning should be performed on the reverse side of the perforation with a laser or photo sensor. Since the straight side of the perforation is inevitably damaged by the grab mechanism, this is one of the reasons for not using the projector, since frames may not be positioned clearly enough.
5. Synchronization with PC to do with arduino. Arduino already has a USB port, let's start with the simplest - imitation of a mouse click.
6. Frame window to do wider frame or even abandon the frame window in the classical sense. This will avoid long hanging hairs and dust in the frame.
7. To make cleaning of a film of dust sticky rollers.
8. Well, experiment with wet scanning, only until I guess where you can get a special liquid.
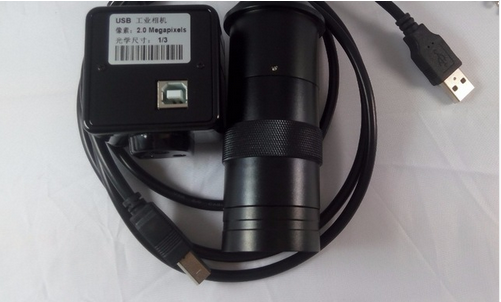
For starters, I ordered and received just such a camera:
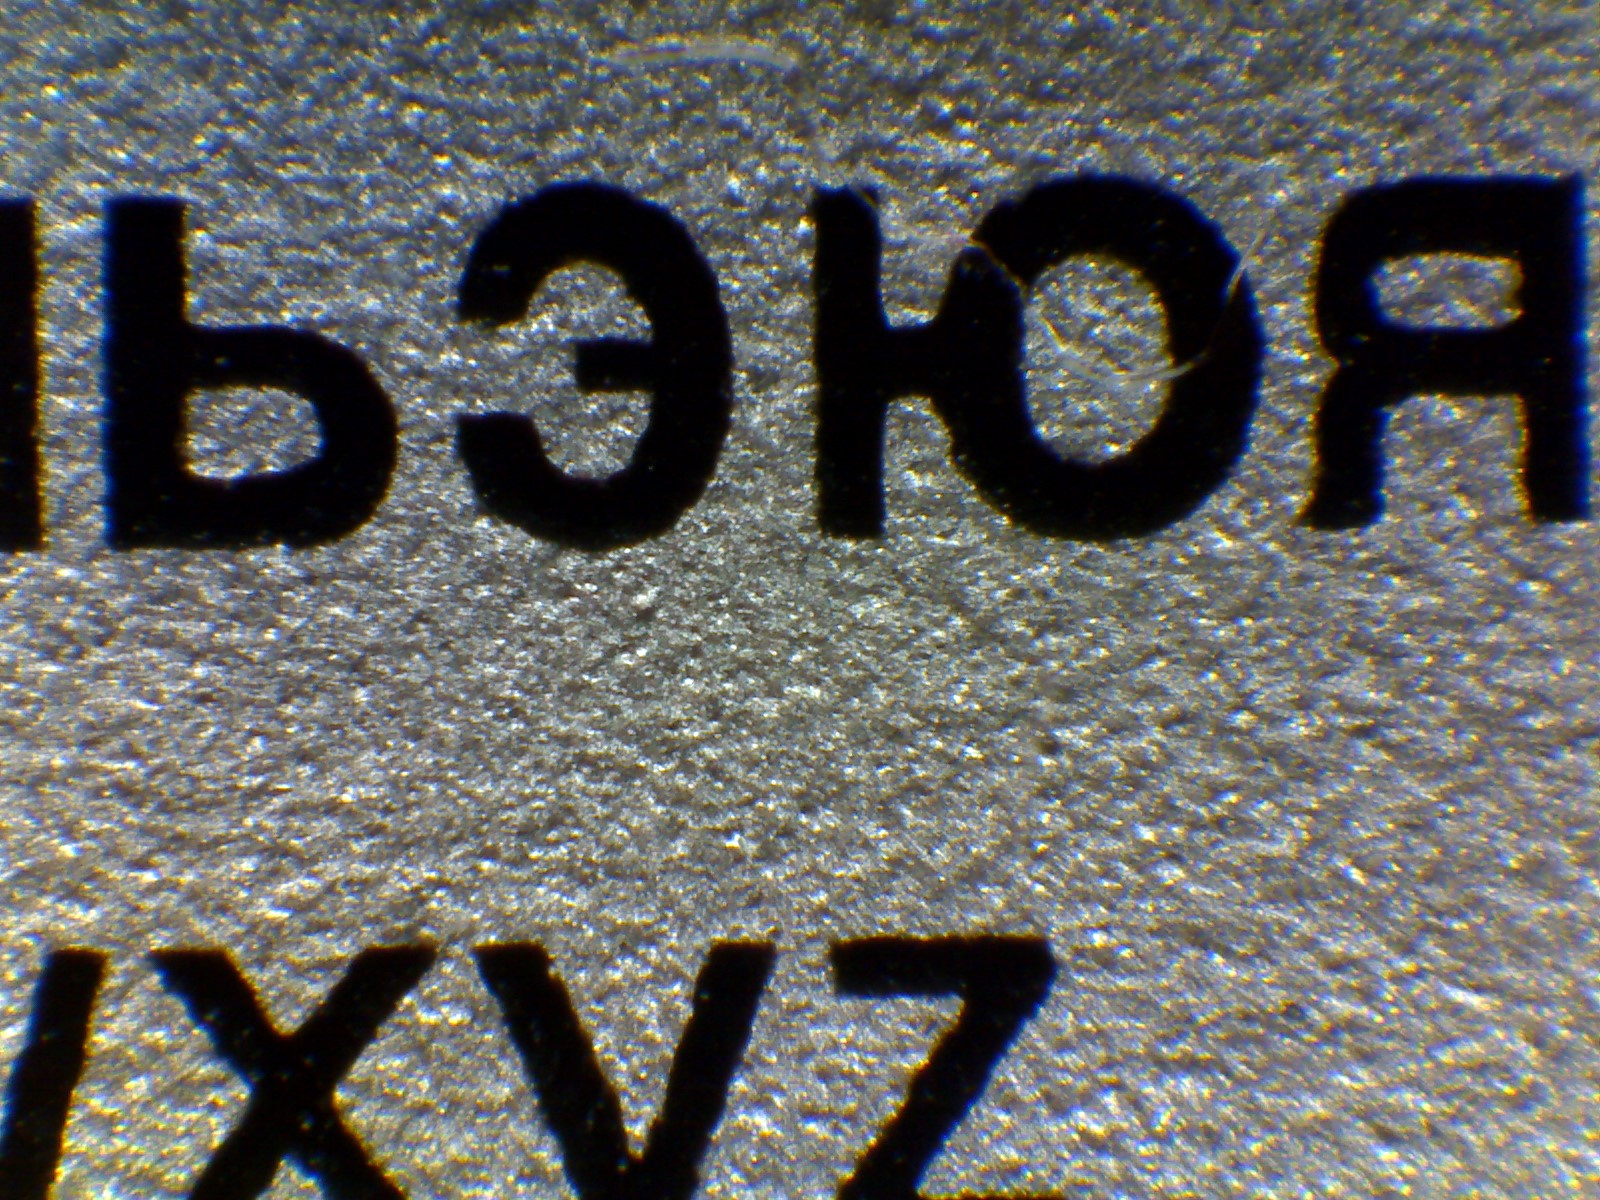
Allows you to do something like this photo:
Button on home phone handset:
10 ruble coin:
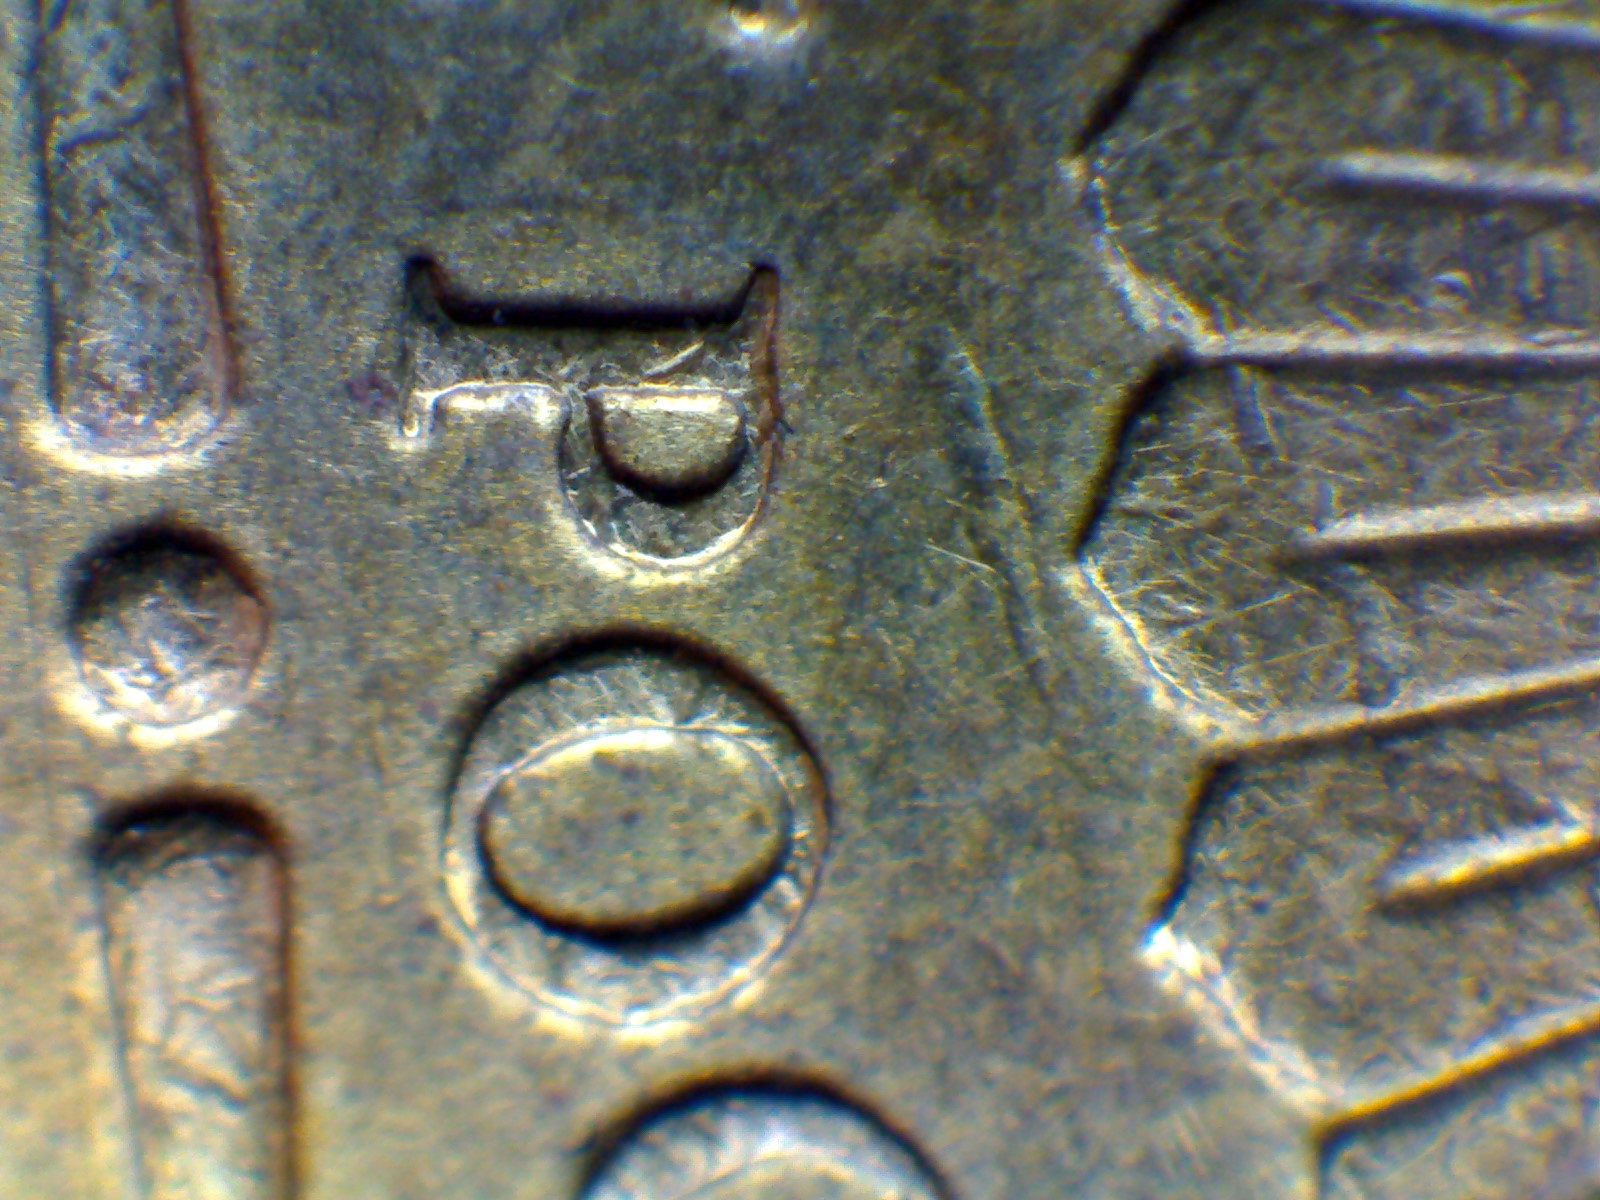
I think for a home telekino quite fit, began to think about the mechanics.