Good afternoon, Community!
My name is
Mikhail Podivilov . I am the founder of the public organization "Medium".
I was repeatedly asked to write a short but comprehensive guide on how to connect to the network of the
decentralized Internet provider “Medium” in overlay mode, that is, without connecting directly to the router of the operator “Medium”, but by using the Internet and
Yggdrasil in quality of transport.
In this publication I will try to explain in an accessible way how you can connect to the Medium network in overlay mode and configure the working environment if you use the Windows operating system.
If you want to know in detail what the Medium decentralized Internet provider is and what it is not, I recommend reading
my colleague 's
article .

Lyrical digression
Before moving on to the main branch of the story, I would like to say a few words about why the connection in the overlay mode to the Medium network now plays a rather important role.
Firstly, even if we use the
partial mesh topology in
Kolomna and
Khanty-Mansiysk , not everyone wants to make a pilgrimage trip to these cities in order to try the network in action.
In these cities,
Mesh works at the
L2 level, where
Yggdrasil already works on top of them at the
L3 level, which we use as the main transport of the network.
Thus, the topology of the Medium network is as follows Secondly, due to the lack of the ability of most users to directly connect Medium network operators to routers, there is a natural need for access to network resources through the use of vehicles already familiar to all of us on the Internet.
Thanks to the use of an overlay connection, the Medium network has acquired a large number of information resources, which are now administered by operators and members of the Medium network.
It seems to me that the title is contrary to the content. So it should be?The title does not contradict the content, but is a subjective projection of the author’s expectations that in the near future the community of the decentralized Internet provider “Medium” will be able to organize access to the network in many other cities of Russia. This will allow users to use the resources of the Medium network without using Internet transport.
We believe that every person should have the right to the provision and use of communication services free of charge, because we do not pay to directly communicate with each other in reality. Do not forget that the
network is primarily formed by people, not technology - we pay for the use of Internet transport only because
it does not belong to us .
Despite the fact that initially the Internet was decentralized (its name speaks for it - “Interconnected Networks”, “Network of Networks”), the communication channels still belong to either the state or corporations. Therefore, its main drawback is that it is not controlled by the community, but by the state and corporations.
By the way, in addition to Kolomna and Khanty-Mansiysk, Medium has access points in
Lakes ,
Samara and
Tyumen . Foreign enthusiasts also support the Medium network initiative and raise access points in Riga and Barcelona.
So let's get started!
Step 1 Download software necessary for the correct operation of the network.
Depending on the bit depth of your operating system, download the latest release of the Yggdrasil client
on the corresponding page . At the time of writing, version 0.3.8 is relevant.
The bit depth of your operating system can be found out by calling the context menu of the "Computer" section inside the "Explorer" program and selecting the "Properties" item.
You are interested in the item “System Type”. There, the bit depth of your operating system will be displayed. For example, "
64-bit operating system ."
Client can be downloaded here:
Yggdrasil 0.3.8 / i386 (32-bit) |
Yggdrasil 0.3.8 / amd64 (64-bit)And, accordingly, the utility for administering your copy of Yggdrasil can be downloaded here:
Yggdrasilctl 0.3.8 / i386 (32-bit) |
Yggdrasilctl 0.3.8 / amd64 (64-bit)Step 2 Installing the software necessary for the correct operation of the network.
Now you need to move the previously downloaded files to a directory located at
C: \ Windows \ System32 . As a rule, the Windows environment variable
% PATH% contains the addresses of the directories in which the executable files are located. They include
C: \ Windows \ System32 .
Step 3 Configuring the Yggdrasil client.
By pressing the key combination
Win + R and entering the
cmd command field that appears, run the command prompt.
Use the command
yggdrasil -genconf > yggdrasil.conf to create a new configuration file.
In no case do not share this file with anyone , because it contains your private key to encrypt traffic within the network.
Your intranet IPv6 address is generated from the private key, so if an attacker can get a copy of your configuration file, he will also be able to use your IPv6 address and impersonate you.
Your configuration file is now located at
C:\Users\__\yggdrasil.conf . Open this file with any text editor and pay special attention to the following
key-value pairs :
Peers: [] - if you leave this field empty, the Yggdrasil client can only work in
-autoconf mode. Here should be indicated other peers (participants) of the network, which also work in overlay mode. They will be connected to when starting the Yggdrasil client.
Select several peers from the
following list and add them to the list of peers.
You should get something like
Peers: ["tcp://46.151.26.194:60575", "tcp://78.155.207.12:32320", "tcp://194.177.21.156:5066"] . You can also use peers from other countries, but this is highly
discouraged , as this adversely affects the overall network performance.
Change the
NodeInfoPrivacy: false parameter to
NodeInfoPrivacy: true if you do not want other network members to know which platform, architecture and version of the Yggdrasil client you are using. I recommend hiding these options, as Yggdrasil is currently not stable enough and some versions
may have vulnerabilities .
You can also configure the
NodeInfo parameter
NodeInfo that other network users can find out more information about your node. You yourself decide which information you will share and which not.
For example:
NodeInfo:
{
contact: mihail@podivilov.ru
location: Ozyory, Russia
name: home.y.podivilov.ru
}
Step 4 Creating a task in the task scheduler.
By pressing the
Win + R key combination and entering the
taskschd.msc command in the appeared field, start the task scheduler.
In the context menu on the right, select
Create Task .
On the General tab, in the Name field, enter “Yggdrasil” and check the box “Run with the highest permissions”. This is necessary so that the Yggdrasil client can use the network TAP driver, which we will install in the next step.
On the “Triggers” tab, click on the “Create” button and select the option “When entering the system” from the context menu. Click OK.
On the "Actions" tab, click on the "Create" button and opposite the "Action" inscription, select the "Run the program" item from the context menu. In the Program or Script box, type
Yggdrasil . In the "Add arguments (optional)"
-useconffile C:\Users\__\yggdrasil.conf enter
-useconffile C:\Users\__\yggdrasil.conf . Click OK.
Step 5 Installing the OpenVPN distribution.
Yggdrasil uses a virtual network TAP driver to emulate an Ethernet device and the network to function correctly.
Download the OpenVPN distribution
here .
Step 6 Configure DNS servers for IPv6.
- Call the Windows context menu by pressing the
Win key and open the control panel - Select "Network and Internet"
- Select "Network and Sharing Center"
- Click on the link opposite “Connections”
- Click Properties
- Select “IP Version 6 (TCP / IPv6)”
- Click Properties
- Check the box next to “Use the following DNS server addresses”
- Enter
200:d0c4:68ee:e87b:c206:67b8:5fa5:d4be in the "Preferred DNS server" field and click "OK"
Congratulations! Setup completed. Return to the task scheduler, then select the Yggdrasil item and click on the “Run” button from the context menu on the right.
You will see the terminal window that appears:
Everything is working.
Now you can open your browser and enter
http: //medium.isp/ in the address bar. If the network is configured correctly, you will see the following page:
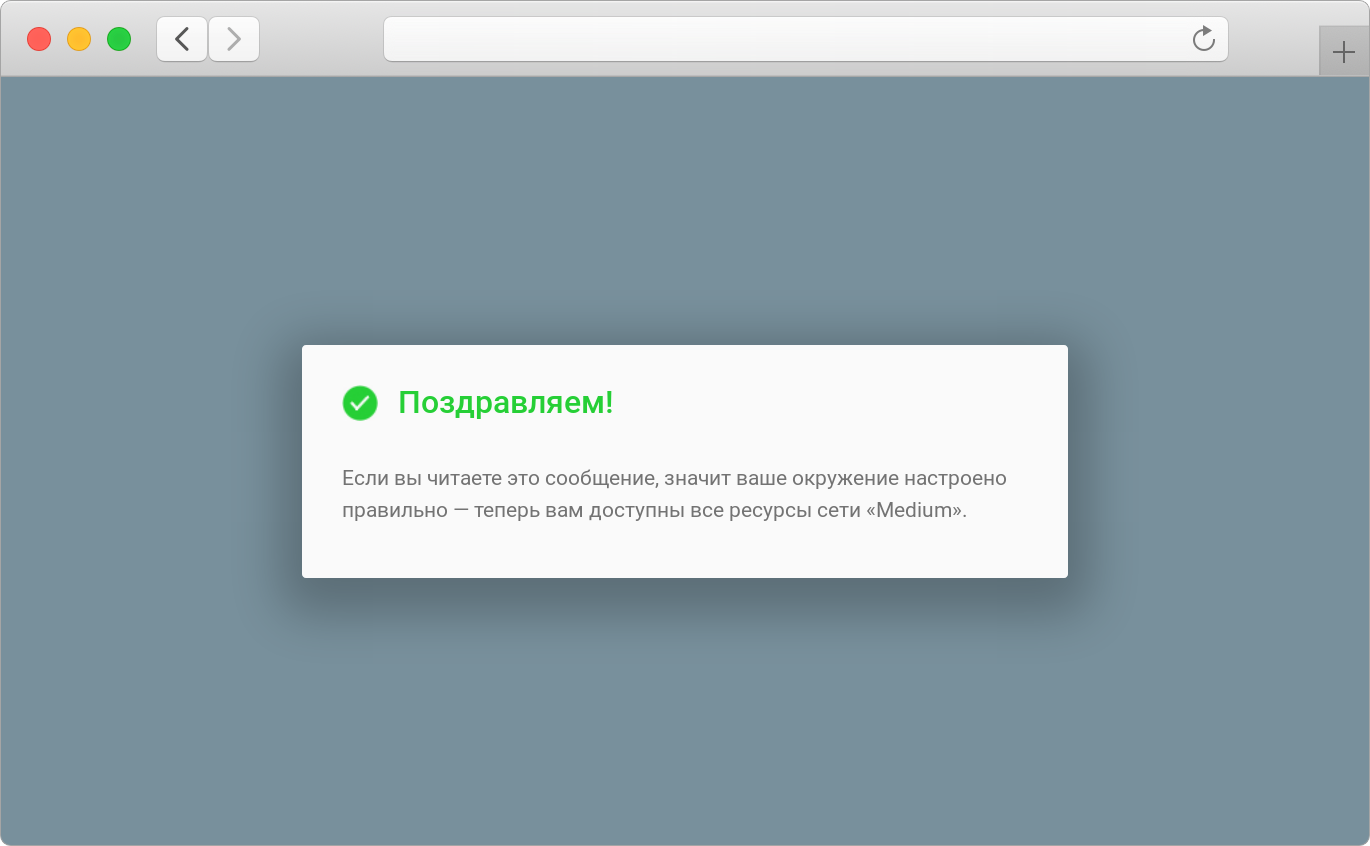
Welcome!
We have prepared for you a list of the most interesting and demanded network resources - you can find it
here .
Read also:
I have nothing to hideEverything you wanted to know about the decentralized Internet provider Medium, but were afraid to askHoney we kill the internetWe are on Telegram:
@medium_isp