This article discusses how to get started with the Neo4j graphical DBMS using the Neo4j Browser . This guide can be useful as an addition to the book of Redmond and Wilson "Seven Databases in Seven Weeks", since the web-interface in question has been completely redesigned, as well as to the book "Graph Databases" (Robinson, Weber, Eifrem), since it does not address this issue at all. The article is intended for beginners to study Neo4j. Those who are already familiar with this DBMS can safely skip it.
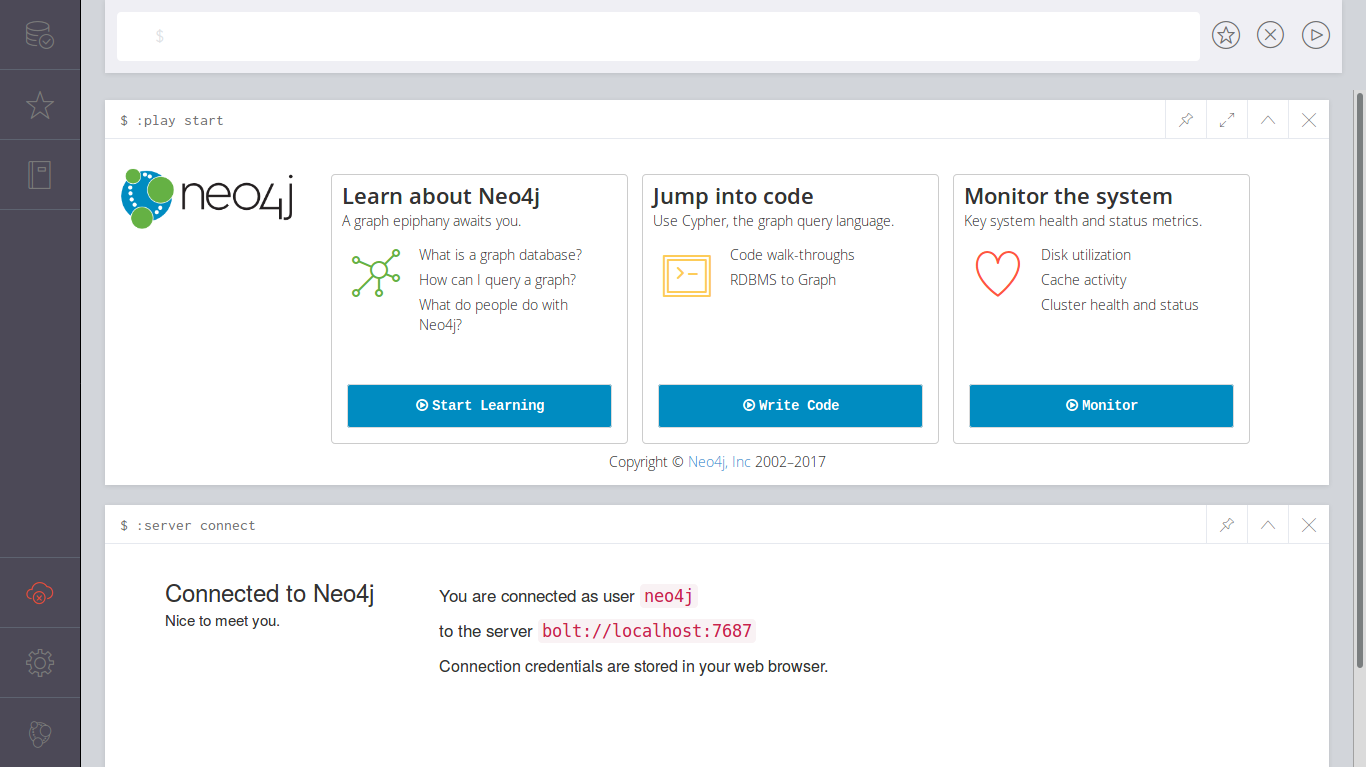
Note This article does not discuss how to install and configure Neo4j. The considered versions are Neo4j 3.3.2 and 3.4.0, Neo4j Browser 3.1.4 and 3.1.12, respectively.
Beginning of work
First, make sure that Neo4j is running (Linux example):
service --status-all | grep neo4j
[ + ] neo4j
A plus sign means that the DBMS is already running, a minus sign does not yet. To start Neo4j, run the command:
sudo service neo4j start
After starting, go to the link http: // localhost: 7474 / browser / . You should see the Neo4j Browser interface shown in the image above.
Now we will be interested in two interface elements depicted below: the editor and the tutorial.

Textbook
Neo4j provides a great interactive tutorial for beginners. I highly recommend going through it. To do this, simply click on Start Learning and first familiarize yourself with the basic concepts of Neo4j:


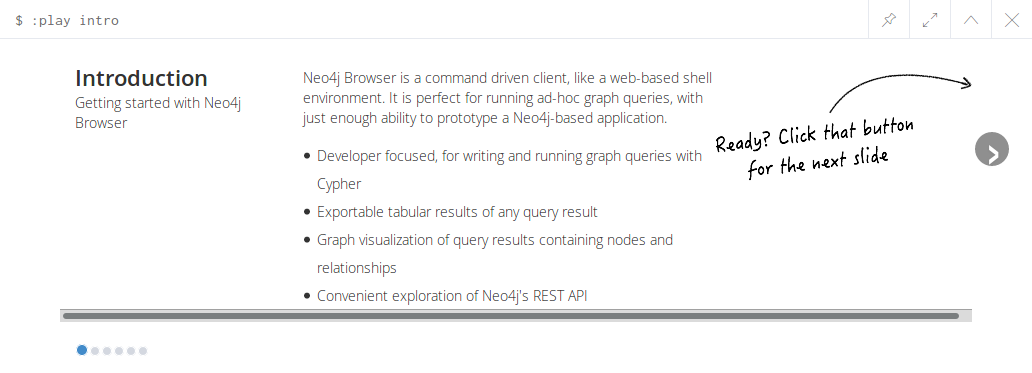
Upon reaching the last step, click on Intro and familiarize yourself with the features of Neo4j Browser:

Editor
At the top of the Neo4j Browser window is a line of the so-called editor:

Starting a set of commands with a colon, we will see a list of all available commands with a brief description:

Call the command :help :


To see examples of working with graphs, you can choose :play movie graph or :play northwind graph .
We will not consider these examples here, but consider how to create your own graph using the Cypher language.
Create a graph
To get started, you can familiarize yourself with the Cypher language by calling the command:
:play cypher
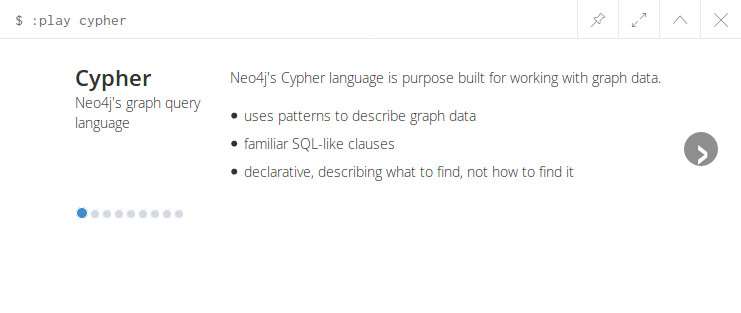
So, let's begin. Create a small social graph. Let's go to the editor and type the first command in Cypher language:
CREATE (u1:Person {name: "Evgeny", from: "Krasnodar"})
After executing the command, the browser will tell us the result:

Add another node:
CREATE (u2:Person {name: "Dmitry", from: "Tula"})
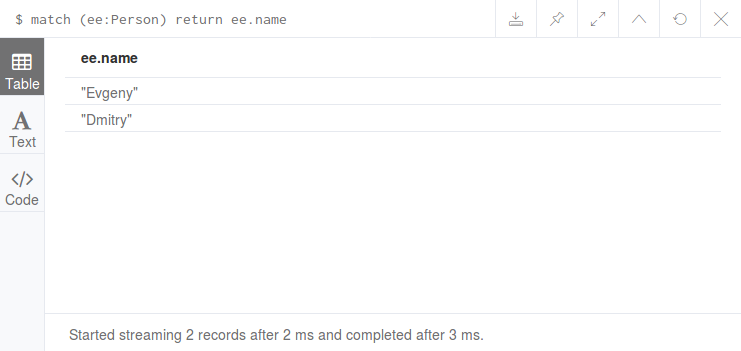
Now we request all nodes of type Person and extract the values of the name property:
MATCH (ee:Person) RETURN ee.name
Note. As in SQL, it is possible to order the extracted data by any field:
MATCH (ee:Person) RETURN ee.name ORDER BY ee.name
Next, we can request all nodes of this type:
MATCH (ee:Person) RETURN ee
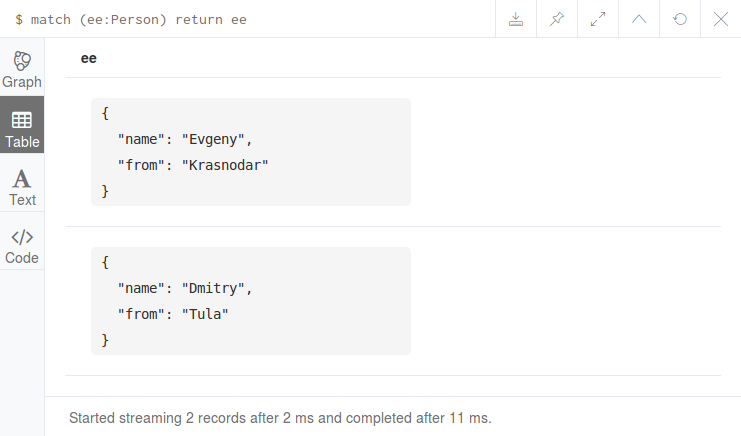
Pay attention to the Graph button that appears. Click on it and see our nodes in graphical form:

Note. In version 3.4, by default, a graphical view opens. To obtain a table view, click on the button labeled "Table". Although it happens and vice versa.
Add a link between the nodes:
MATCH (e:Person) WHERE e.name = "Evgeny" MATCH (d:Person) WHERE d.name = "Dmitry" CREATE (e)-[:KNOWS]->(d), (d)-[:KNOWS]->(e)
And again we will request our graph:
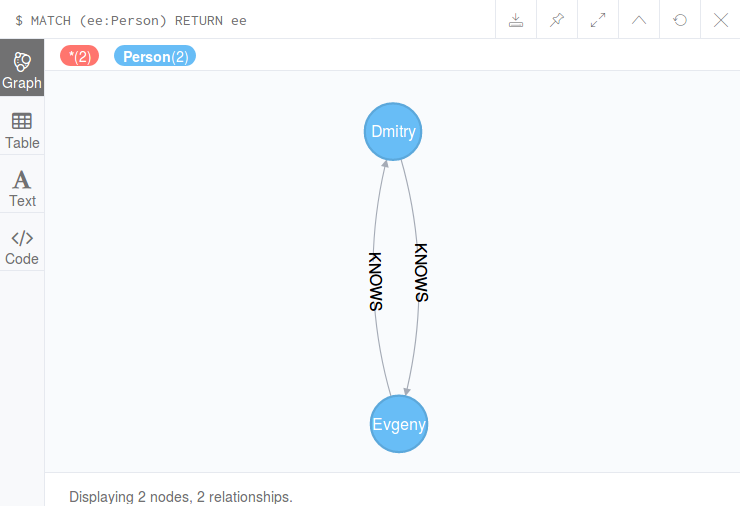
Using Cypher, you can also perform various operations on graphs, for example, query adjacent vertices, friends of friends in a social graph, delete edges and vertices, and much more, but this is a topic for another discussion.
You can also configure Neo4j Browser to have a different display style for nodes and links, depending on the labels that it defines.
References