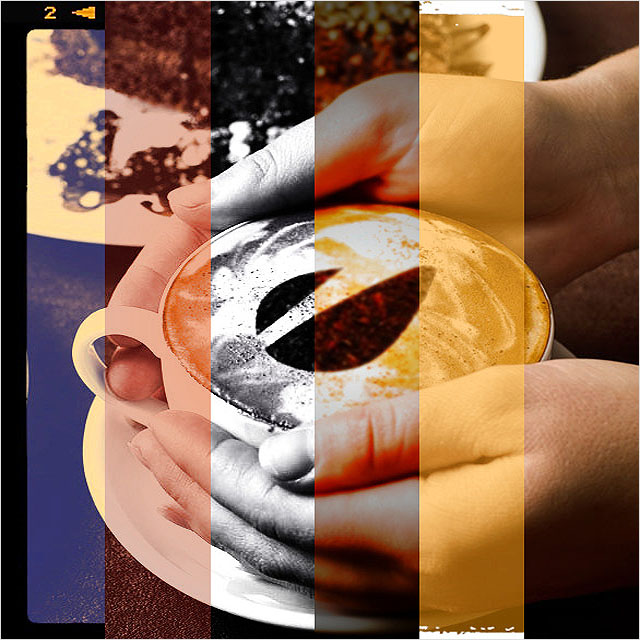
この記事では、PHPとImageMagickを使用して、写真(Instagramなど)にいくつかの効果を作成する方法を示します。
PHPを使用した画像処理
PHPにはGD(GIF Draw / Graphics Draw)がバンドルされています。 サイズ変更、トリミング、透かしの追加、サムネイルの作成などの単純な画像操作に使用されます。 残念ながら、GDでもっと複雑なものを作成したい場合は機能しません。 幸いなことに、ImageMagickがあります!
GD vs. Imagemagick
画像のサイズ変更の例を見てみましょう。
Gd:$im = imagecreatefromjpeg('photo.jpg'); $ox = imagesx($im); $oy = imagesy($im); $nx = 640; $ny = 480; $nm = imagecreatetruecolor($nx, $ny); imagecopyresized($nm,$im,0,0,0,0,$nx,$ny,$ox,$oy); imagejpeg($nm, 'photo.jpg');
ImageMagick:IM(ImageMagickの略)には、ImageMagick APIを使用して画像を作成および編集するためのネイティブPHP拡張であるImagickと呼ばれる素敵なシェルがあります。 唯一の
欠点は 、
PECLからインストールされることです。これは、共有ホスティングの問題になる場合があります。
$image = new Imagick('photo.jpg'); $image->resizeImage(640, 480, imagick::FILTER_LANCZOS, 0.9);
また、コマンドラインを使用するのはさらに簡単です。
exec('mogrify -resize 640x480 photo.jpg');
ImageMagickをインストールする
リンクに従って、プラットフォーム(Unix / Mac / Win)を選択し、推奨パッケージを選択します。
インストールが完了した後、ターミナル/コマンドラインに移動し、「コマンドが見つかりませんでした」ではなくオプションのリストが表示された場合、
convertと入力してEnterキーを押します。 PHPで何も構成する必要がないことに注意してください。
Instagraph-PHPクラス
画像をフィルタリングするプロセスをできる限り単純にするために、PHPクラスの小さなスクリプトを作成しました。
- colortone:ハイライトやシャドウでの画像の色調の意志。
- ビネット:画像の端が変色しています。
- border:写真に境界線を追加します。
- frame:写真に従って指定されたフレームを読み取ります。
- tempfile:一時ファイル(元のイメージのコピー)を作成します。
- 出力:作業ファイルの名前を変更します
- 実行:コマンド送信
instagraph.phpという新しいファイルを作成し、次のコードを貼り付けます。
class Instagraph { public $_image = NULL; public $_output = NULL; public $_prefix = 'IMG'; private $_width = NULL; private $_height = NULL; private $_tmp = NULL; public static function factory($image, $output) { return new Instagraph($image, $output); } public function __construct($image, $output) { if(file_exists($image)) { $this->_image = $image; list($this->_width, $this->_height) = getimagesize($image); $this->_output = $output; } else { throw new Exception('File not found. Aborting.'); } } public function tempfile() {
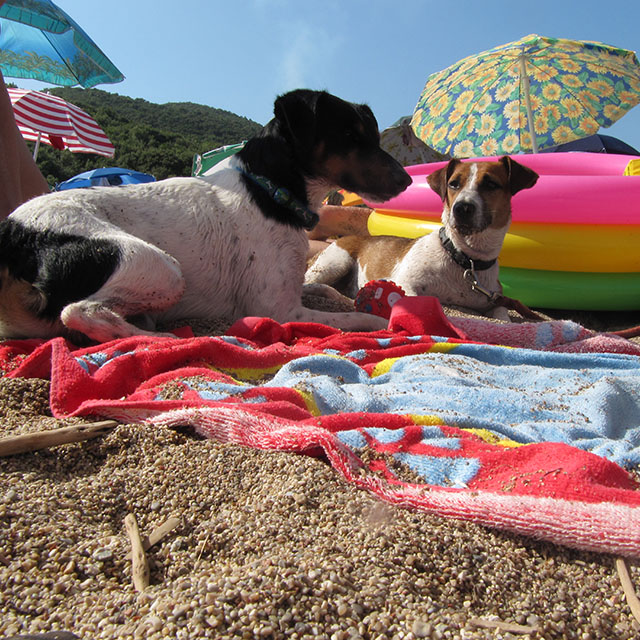
何が起こるか見てみましょう
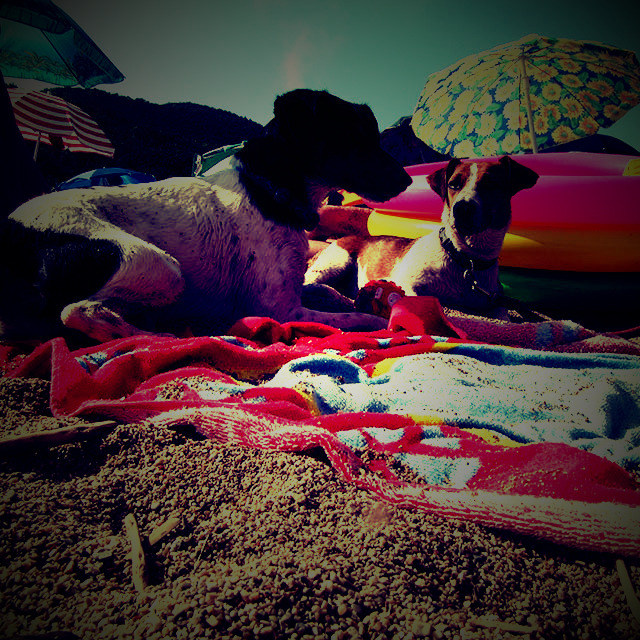
元の画像:
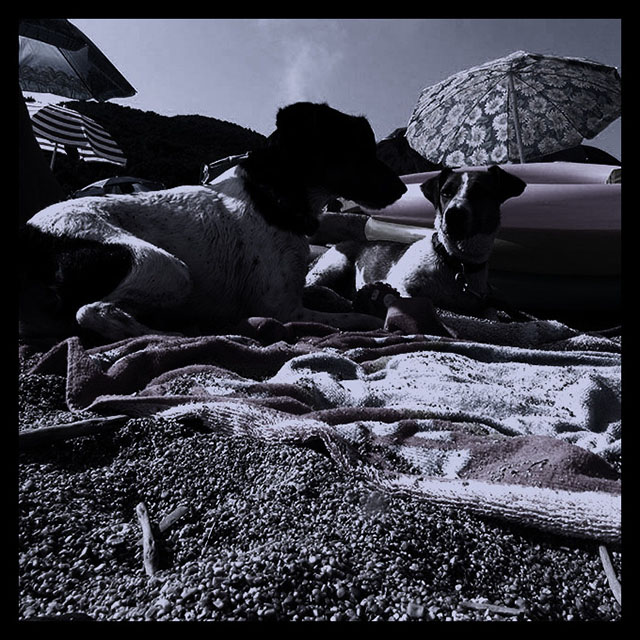
 ゴッサムフィルター
ゴッサムフィルターは、画像を白黒に変換します。 青みがかった高コントラストの画像。
public function gotham() { $this->tempfile(); $this->execute("convert $this->_tmp -modulate 120,10,100 -fill '#222b6d' -colorize 20 -gamma 0.5 -contrast -contrast $this->_tmp"); $this->border($this->_tmp); $this->output(); }
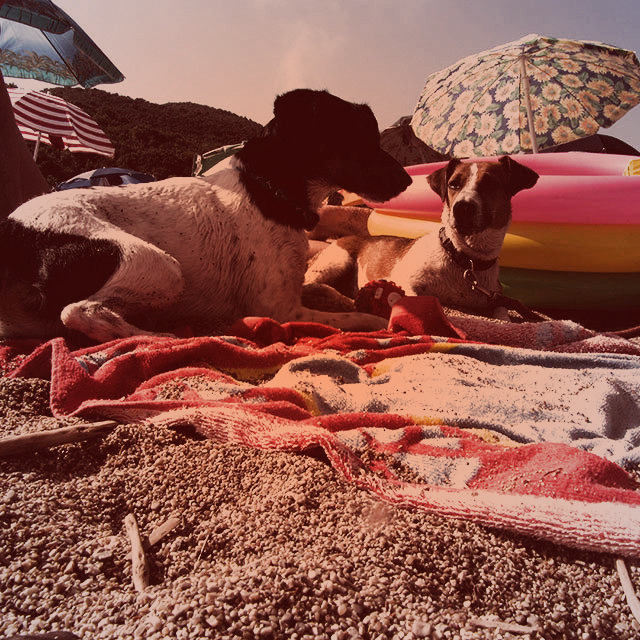
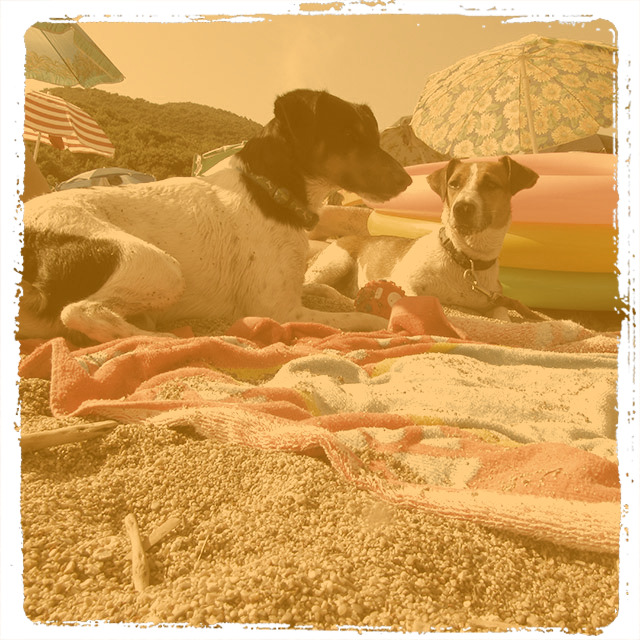
 トースターフィルター
古いポラロイドのショットを連想させる、中心からのピンク/オレンジの輝きとともに鮮やかな色をしています。 InstagramのCEOによると、これは最も難しい効果の1つです。
public function toaster() { $this->tempfile(); $this->colortone($this->_tmp, '#330000', 100, 0); $this->execute("convert $this->_tmp -modulate 150,80,100 -gamma 1.2 -contrast -contrast $this->_tmp"); $this->vignette($this->_tmp, 'none', 'LavenderBlush3'); $this->vignette($this->_tmp, '#ff9966', 'none'); $this->output(); }
完全な効果を得るために白いフレームを追加することもできます。追加するだけです
$this->border($this->_tmp, 'white'); $this->output();
 ナッシュビルフィルター
 public function nashville() { $this->tempfile(); $this->colortone($this->_tmp, '#222b6d', 100, 0); $this->colortone($this->_tmp, '#f7daae', 100, 1); $this->execute("convert $this->_tmp -contrast -modulate 100,150,100 -auto-gamma $this->_tmp"); $this->frame($this->_tmp, __FUNCTION__); $this->output(); }
 ロモフィルター
 public function lomo() { $this->tempfile(); $command = "convert {$this->_tmp} -channel R -level 33% -channel G -level 33% $this->_tmp"; $this->execute($command); $this->vignette($this->_tmp); $this->output(); }
 ケルビンフィルター
 public function kelvin() { $this->tempfile(); $this->execute("convert ( $this->_tmp -auto-gamma -modulate 120,50,100 ) ( -size {$this->_width}x{$this->_height} -fill 'rgba(255,153,0,0.5)' -draw 'rectangle 0,0 {$this->_width},{$this->_height}' ) -compose multiply $this->_tmp"); $this->frame($this->_tmp, __FUNCTION__); $this->output(); }
使い方は?
すべてのコードをinstagraph.phpファイルに保存したと想定しています。 ここで、filter.phpというファイルを作成し、次のコードをコピーします。
1つのフィルターのみを適用する場合は、次のように実行できます。
require 'instagraph.php'; try { $instagraph = Instagraph::factory('input.jpg', 'output.jpg'); } catch (Exception $e) { echo $e->getMessage(); die; } $instagraph->toaster();
以上です! すべてのフィルターを適用する場合は、次のコードを使用します。
require 'instagraph.php'; try { $instagraph = Instagraph::factory('input.jpg', 'output.jpg'); } catch (Exception $e) { echo $e->getMessage(); die; }
性能
もちろん、パフォーマンスはどのアプリケーションでも重要な部分です。 画像へのフィルターの適用は約1秒で、非常に高速であると自信を持って言えます!