
これは
前の記事の続きです。 ステップごとに、経済戦略のゲームロジックが機能するエンジンを作成しています。 これを初めて見る場合は、
パート1から始めることを強くお勧めします。これは依存関係の継続であり、そのコンテキストが必要だからです。
以前と同様-記事の最後に、Githubの完全なコードと無料ダウンロードへのリンクがあります。
作業計画
1.
プロジェクトを設定する2.
コアを作成します(基本構造)3.
最初のコマンドを追加してテストします-構造とモジュールを構築します4.
建物とモジュールの設定を別のファイルに取り出します5.
時間の経過を追加する6.構築可能を追加、しばらくの間建物が建設中
7.リソースを追加します。構築にはリソースが必要です
8.生産サイクルを追加します-モジュールはリソースを消費して発行します
構築可能を追加
それでは、時間の経過に何かを結び付けましょう。 建物とモジュールはすぐにではなく、いくつかの動きで構築します(構成によって異なります)。 最初に、すべての設定に項目ConstructionTimeを追加します。 ConstructionTimeがゼロに等しい場合、構造を構築することは不可能です。
public class BuildingConfig {
public class ModuleConfig {
工場に設定を追加することを忘れないでください:
public class Factory {
次に、Progressionクラスを作成します。このクラスを使用して、たとえば構築など、時間の経過とともに進行する進行を実装します。
public class Progression { public readonly int Time; public int Progress { get; private set; } public bool IsFake { get { return Time == 0; } } public bool IsReady { get { return IsFake || Progress >= Time; } } public bool IsRunning { get { return !IsReady && Progress > 0; } } public Progression (int time) { Time = time; Progress = 0; } public void AddProgress () { if (!IsReady) Progress++; } public void Complete () { if (!IsReady) Progress = Time; } public void Reset () { Progress = 0; } }
次に、部屋とモジュールに建設の可能性を追加します。
public class Building {
public class Module {
そして、まだ構築されていない部屋でのモジュールの構築を禁止します。
public class ModuleConstruct : Command {
もちろん、BuildingConstructコマンドがCompleteメソッドの呼び出しを正常に完了した後、CorrectConstruction、IncorrectConstruction、CantConstructInWrongBuildingおよびModulesLimitsをテストに追加するため、テストは失敗しました(はい、このために特別に作成しました)
room.Building.Constructible.Complete()
そして、まだ完成していない部屋に建物を建てることが不可能かどうかをテストするために、別のテストを作成します。
[TestMethod] public void CantConstructInUncompleteBuilding () { var core = new GameLogic.Core(); var room = core.Ship.GetRoom(0); new BuildingConstruct( room, core.Factory.ProduceBuilding(BuildingType.PowerPlant) ) .Execute(core); Assert.IsFalse( new ModuleConstruct( room.Building, core.Factory.ProduceModule(ModuleType.Generator), 2 ) .Execute(core) .IsValid ); }
しかし、ゲームの世界の神々の波だけでなく、時間の経過とともに部屋を作りましょう。 これを行うには、特別なチームを作成し、それをすべての動きと呼びます:
public class NextTurn : Command { protected override bool Run () { new ConstructionProgress().Execute(Core);
public class ConstructionProgress : Command { protected override bool Run () { foreach (var room in Core.Ship.Rooms) { BuildingProgress(room.Building); } return true; } private void BuildingProgress (Building building) { building.Constructible.AddProgress(); foreach (var module in building.Modules) { module.Constructible.AddProgress(); } } }
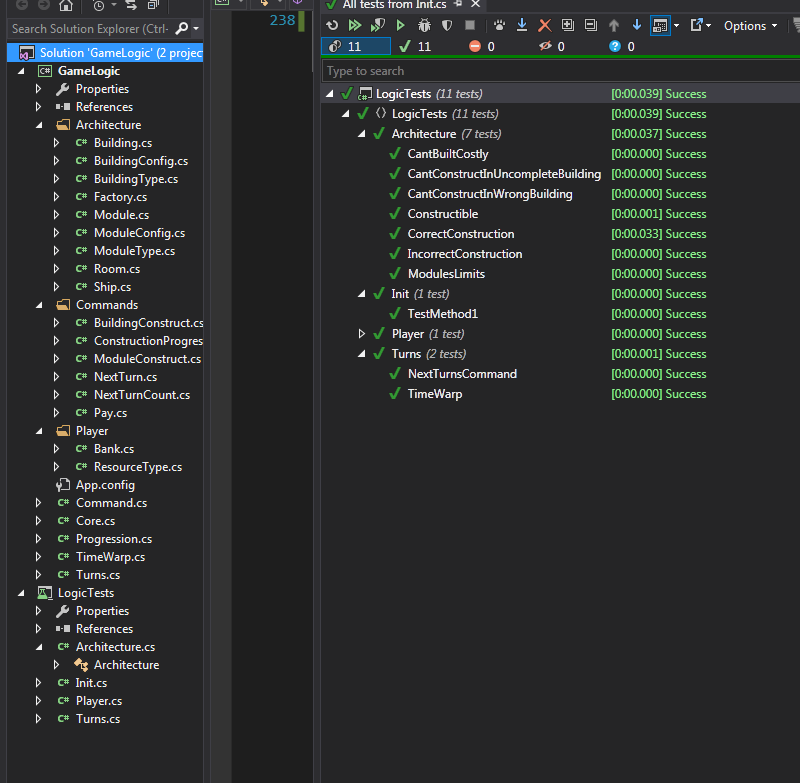
そしてすぐに、コードが正常に動作することを示すテストでカバーします。
[TestMethod] public void Constructible () { const int smelteryTime = 10; const int furnaceTime = 6; var core = new GameLogic.Core(); var room = core.Ship.GetRoom(0);

リソースを追加する
何かを作成するには、まず何かを破壊し、スクラップ金属を収集する必要があります。 プレイヤーが建物の代金を支払う必要があるように、リソースを販売しましょう。 エネルギー、鉱石、金属の3つのリソースがあります。
public enum ResourceType { Energy, Ore, Metal }
また、プレイヤーが保存する場所とリソースを取得する場所を作成します。
public class Bank { private readonly Dictionary<ResourceType, int> resources = new Dictionary<ResourceType, int>(); public int Get (ResourceType type) { return resources.ContainsKey(type) ? resources[type] : 0; } public void Change (ResourceType type, int value) { var current = Get(type); if (current + value < 0) { throw new ArgumentOutOfRangeException("Not enought " + type + " in bank"); } resources[type] = current + value; } }
public class Core {
次に、モジュールと建物の設定に生産価格を追加します。
public class BuildingConfig {
public class ModuleConfig {
public class Factory {
ここで、リソースを支払い、すぐに実際に(テストで)試すことができるコマンドを追加します。
public class Pay : Command { public readonly Dictionary<ResourceType, int> Cost; public Pay (Dictionary<ResourceType, int> cost) { Cost = cost; } protected override bool Run () {
[TestClass] public class Player { [TestMethod] public void Payment () { var core = new Core(); core.Bank.Change(ResourceType.Metal, 100); core.Bank.Change(ResourceType.Ore, 150); Assert.IsFalse( new Pay(new Dictionary<ResourceType, int>{ { ResourceType.Metal, 100 }, { ResourceType.Ore, 2000 } }) .Execute(core) .IsValid ); Assert.AreEqual(100, core.Bank.Get(ResourceType.Metal)); Assert.AreEqual(150, core.Bank.Get(ResourceType.Ore)); Assert.IsTrue( new Pay(new Dictionary<ResourceType, int>{ { ResourceType.Metal, 100 }, { ResourceType.Ore, 30 } }) .Execute(core) .IsValid ); Assert.AreEqual(0, core.Bank.Get(ResourceType.Metal)); Assert.AreEqual(120, core.Bank.Get(ResourceType.Ore)); } }
支払いは正しく機能し、建物とモジュールの支払いを開始するのは非常に簡単です-最後の検証として支払いチームに呼び出しを追加します(建設が妨げられないように別のチェックが必要ない場合は最後になります):
public class BuildingConstruct : Command {
public class ModuleConstruct : Command {
幸いなことに、テストは再び落ちました(幸いなことに、それはテストが完璧に機能することを意味するためです)。
古いテストでは、プレーヤーにリソースを追加し、新しいテストを作成します。これにより、将来、無料で構造を構築する機会が突然ないことを確認します。 最初に近いすべての壊れたテストに追加します。
core.Bank.Change(ResourceType.Metal, 1000);
そして、リソース不足の建設用テストを作成します。
[TestMethod] public void CantBuiltCostly () { var core = new GameLogic.Core(); var room = core.Ship.GetRoom(0); core.Bank.Change(ResourceType.Metal, 3); Assert.IsFalse( new BuildingConstruct( room, core.Factory.ProduceBuilding(BuildingType.Smeltery) ) .Execute(core) .IsValid ); }
生産サイクルを追加する
もちろん、リソースを利用するのは良いことですが、与える方がはるかに快適です。 生産チェーンを実行する機能をプログラムしましょう。 各モジュールは、一定量の原材料を食べてから、完成した材料を配ることができます。 繰り返しますが、設定から始めます。
public class ModuleConfig {
public class Module {
public class Factory {
次に、各ターンの生産進捗を追加します。
public class NextTurn : Command { protected override bool Run () { new CycleProgress().Execute(Core);
public class CycleProgress : Command { protected override bool Run () { foreach (var room in Core.Ship.Rooms) { BuildingProgress(room.Building); } return true; } private void BuildingProgress (Building building) { if (!building.Constructible.IsReady) return; foreach (var module in building.Modules) { ModuleProgress(module); } } private void ModuleProgress (Module module) { if (!module.Constructible.IsReady || module.Cycle.IsFake) { return; }
クラスは大きいことが判明しましたが、複雑度が高い場合はいつでもリファクタリングできます。 今、私たちはテストを書いています。 リソースが不足している場合は、本番の有効性と非起動の両方をチェックするため、かなり長くなります。 また、テスト用にモジュールと構造に個別の設定を作成しました(突然DGがそれらを変更し、テストがドロップされます)。 理想的には、すべてのテストを特別なテスト設定に変更できます。
public class Cycle { [TestMethod] public void CheckCycle () { var buildingConfig = new BuildingConfig() { Type = BuildingType.Smeltery, ModulesLimit = 1, AvailableModules = new [] { ModuleType.Furnace } }; var moduleConfig = new ModuleConfig() { Type = ModuleType.Furnace, ConstructionTime = 2, ConstructionCost = new Dictionary<ResourceType, int>() { { ResourceType.Metal, 10 } }, CycleTime = 4, CycleInput = new Dictionary<ResourceType, int>() { { ResourceType.Ore, 10 }, { ResourceType.Energy, 5 } }, CycleOutput = new Dictionary<ResourceType, int>() { { ResourceType.Metal, 1 } } }; var core = new Core(); core.Bank.Change(ResourceType.Metal, 10); core.Bank.Change(ResourceType.Ore, 80); core.Bank.Change(ResourceType.Energy, 10); var building = new Building(buildingConfig); core.Ship.GetRoom(0).Building = building; var module = new Module(moduleConfig); Assert.IsTrue( new ModuleConstruct(building, module, 0) .Execute(core) .IsValid ); new NextTurn().Execute(core); Assert.IsFalse(module.Cycle.IsRunning); new NextTurn().Execute(core); Assert.IsTrue(module.Constructible.IsReady); Assert.IsFalse(module.Cycle.IsRunning); new NextTurn().Execute(core); Assert.IsTrue(module.Cycle.IsRunning); Assert.AreEqual(1, module.Cycle.Progress); Assert.AreEqual(70, core.Bank.Get(ResourceType.Ore)); Assert.AreEqual(5, core.Bank.Get(ResourceType.Energy)); Assert.AreEqual(0, core.Bank.Get(ResourceType.Metal)); new NextTurnCount(3).Execute(core); Assert.IsFalse(module.Cycle.IsRunning); Assert.AreEqual(70, core.Bank.Get(ResourceType.Ore)); Assert.AreEqual(5, core.Bank.Get(ResourceType.Energy)); Assert.AreEqual(1, core.Bank.Get(ResourceType.Metal)); new NextTurn().Execute(core); Assert.IsTrue(module.Cycle.IsRunning); Assert.AreEqual(60, core.Bank.Get(ResourceType.Ore)); Assert.AreEqual(0, core.Bank.Get(ResourceType.Energy)); Assert.AreEqual(1, core.Bank.Get(ResourceType.Metal)); new NextTurnCount(3).Execute(core); Assert.IsFalse(module.Cycle.IsRunning); Assert.AreEqual(2, core.Bank.Get(ResourceType.Metal)); new NextTurn().Execute(core);

終わり
そのため、テストは正しく開始され、製品の最小バージョンを作成することができました。 Factoryクラスは肥大化したことが判明しましたが、JSONで設定を行った場合、まったく何も起こりません。 Json.NETを使用して、次のように記述する必要があります。
JSONの設定 var files = Directory.GetFiles(path + "/Items/Modules", "*.json", SearchOption.AllDirectories); var modules = new List<ModuleConfig>(); foreach (var file in modules) { var content = File.ReadAllText(file); modules.Add( JsonConvert.DeserializeObject<ModuleConfig>(content) ); }
{ "Type": "Generator", "ConstructionTime": 5, "ConstructionCost": { "Metal": 10 }, "CycleTime": 12, "CycleInput": { "Energy" 6, "Ore": 4, }, "CycleOutput": { "Energy": 10 } }
コードが好きな人のため
に-Githubに別のリポジトリがあり
ますさらに、SpaceLabの開発に関する質問に興味がある場合は、コメントまたは別の記事で回答します。
Windows、Linux、Mac向けに無料でSMSを使用せずにダウンロードできます
。GreenLightのSpaceLabページでもサポートできます。