Eclipse、MPICH、およびPTPの構成は1つのことです。 そしてそれは
解決されます。 タスクの実行は別の問題です。 特にエンドユーザーの場合。 注意-多くの写真。
まず、グラフィカルセッションが必要です。 VNCの使用方法や、Puttyからのグラフィカルセッションの使用方法は、やめないところを多く説明しています。
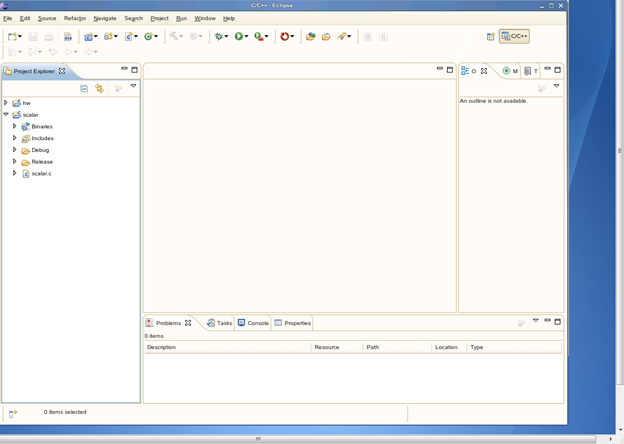
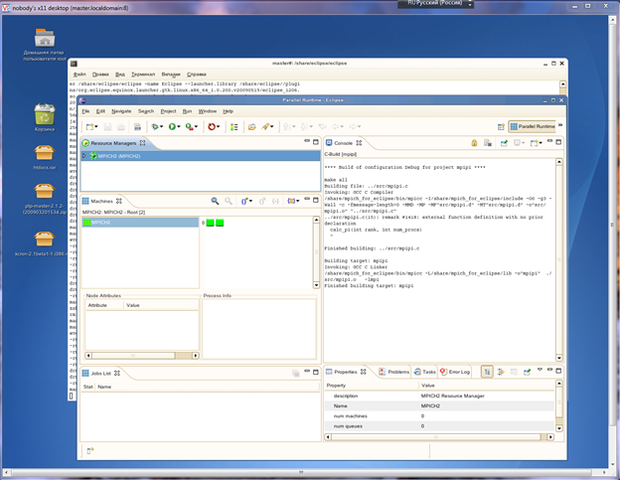
Eclipseメインウィンドウ:
プロジェクトの作成とコンパイル
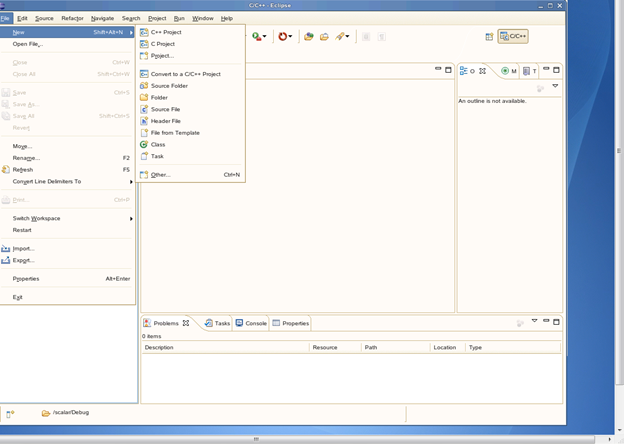
1)プロジェクトCを作成する
2)目的のプロジェクトタイプを選択します
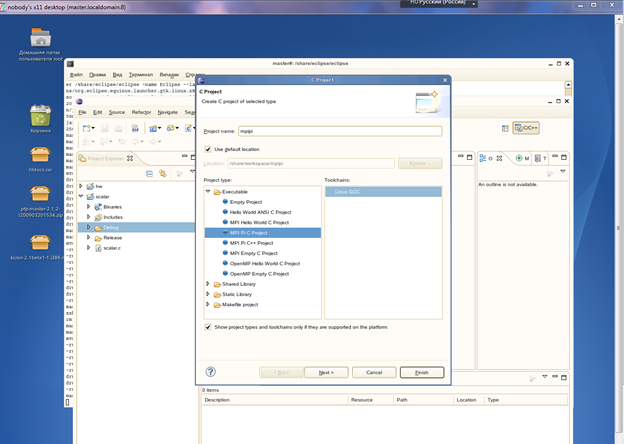
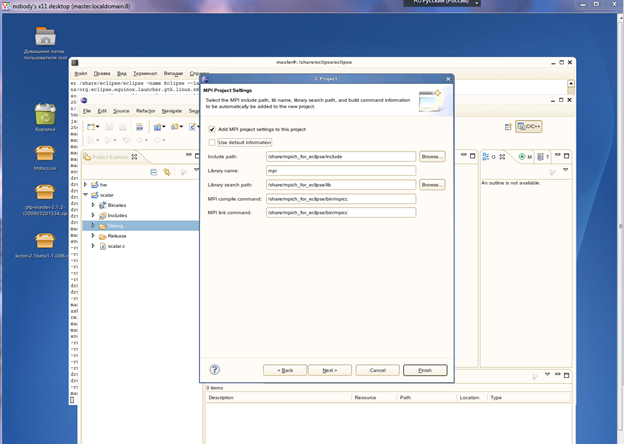
数Piの並列計算を選択します。 EclipseがMPI構成データを要求する場合、[はい]をクリックし、[新規]をクリックして、ディレクトリ/ home / mpich / includeを見つけます。 次に、MPIビルドコマンドラインをmpiccから/ home / mpich / bin / mpiccに変更します。 適用をクリックします。 注意:これは重要です。 そうしないと、コンパイルが失敗します。 プロジェクトの名前を入力します。 次へ
2ステップ。 次へ
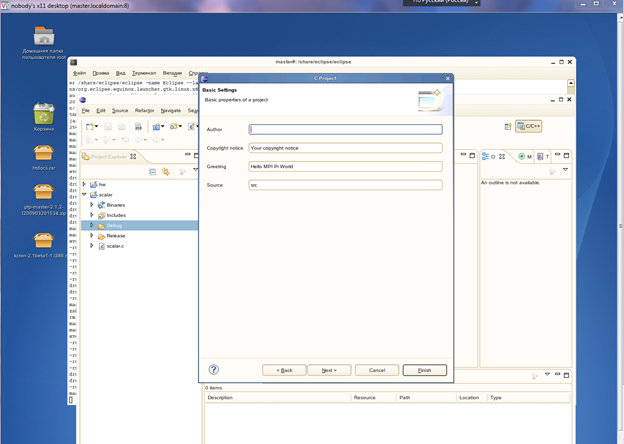
[デフォルト情報を使用する]の選択を解除する必要があるプロジェクトを作成する3ステップ。残りは変更しないでください。 次に、完了。
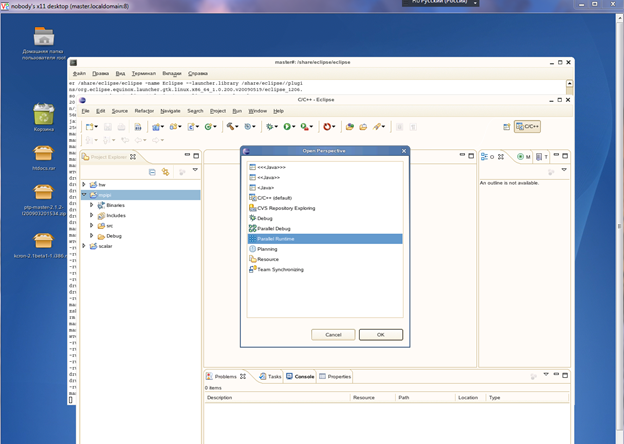
3)Parallel Runtimeパースペクティブに移動します。
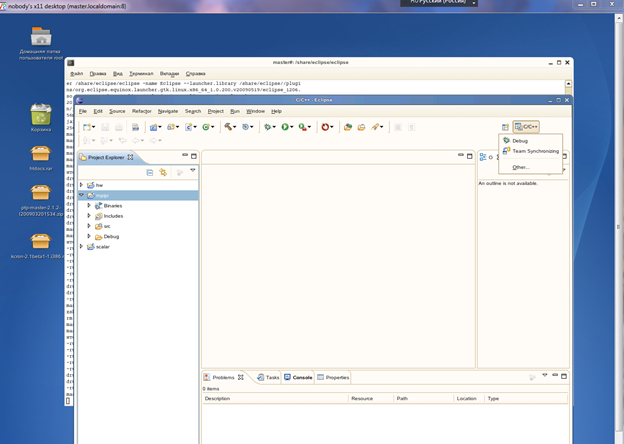
このパースペクティブは、[その他]をクリックしてトリガーできます。
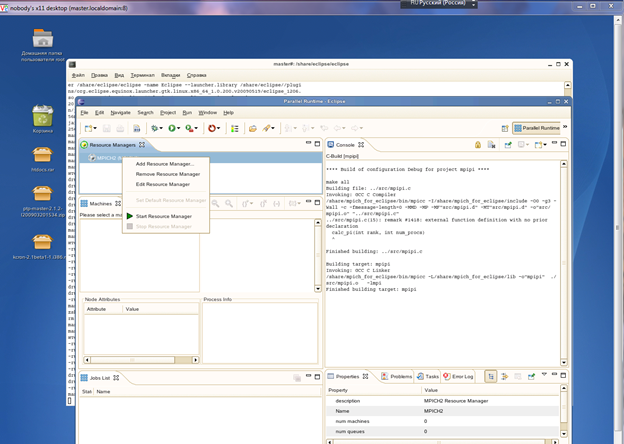
[リソースマネージャー]フィールドのコンテキストメニューを呼び出し、[リソースマネージャーの追加]をクリックします。 選択ボックスにMPICH2、次を残し、次のページで再び次を使用します。 次のページで、[デフォルトの場所を使用する]のチェックを外し、[場所/ホーム/ mpich / bin]フィールドに入力します。
次に、次へ。 終わり 4)リソースマネージャーの起動
5)起動構成を作成する
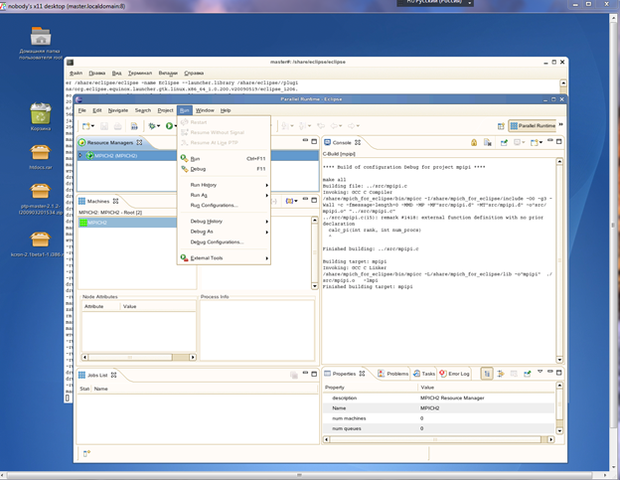
[実行構成]をクリックします。

並列アプリケーションをダブルクリックします。 [プロセス数]で必要なコア数を選択します。 [アプリケーション]タブで、プロジェクト名と実行可能ファイルを指定する必要があります(最初はName_of_project => Debug => name_of_projectにあります)

「デバッガー」タブで、EclipseデバッガーSDMへのパスを指定する必要があります。 フルパス:/distr/soft/eclipse/plugins/org.eclipse.ptp.linux.x86_3.0.1.200912191959/bin/sdm次に、「実行」をクリックして結果を確認します。